

Send me the installation guide?
We get asked this question a lot! Unfortunately, there is no one solution fits all! The installation of our outdoor privacy and façade products comes down to a variety of factors. I will attempt to break them down here, then provide some tips and tricks to hopefully answer all the common questions..
1. Safety and Structural
The product is made of high quality recycled plastic. The plastic used is high quality and has a high load rating when used on a flat surface. The high load rating does not easily translate to any definable fence or free standing load rating, this is up to our client or client engineer to decide on.
2. Types of installations
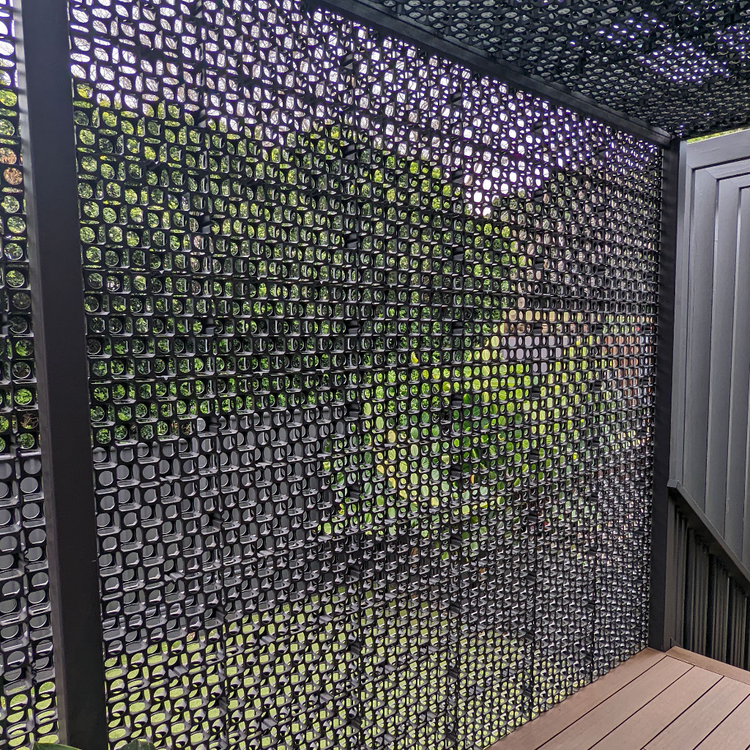
As mentioned earlier, the products have been used for many different applications. From whole building facades, small window privacy screens, safety barriers around open decking, to hide ugly appliances and many other crafty installations. It is for this reason, we can not provide a one size fits all. What I can do though, is break it down to 3 common install applications:
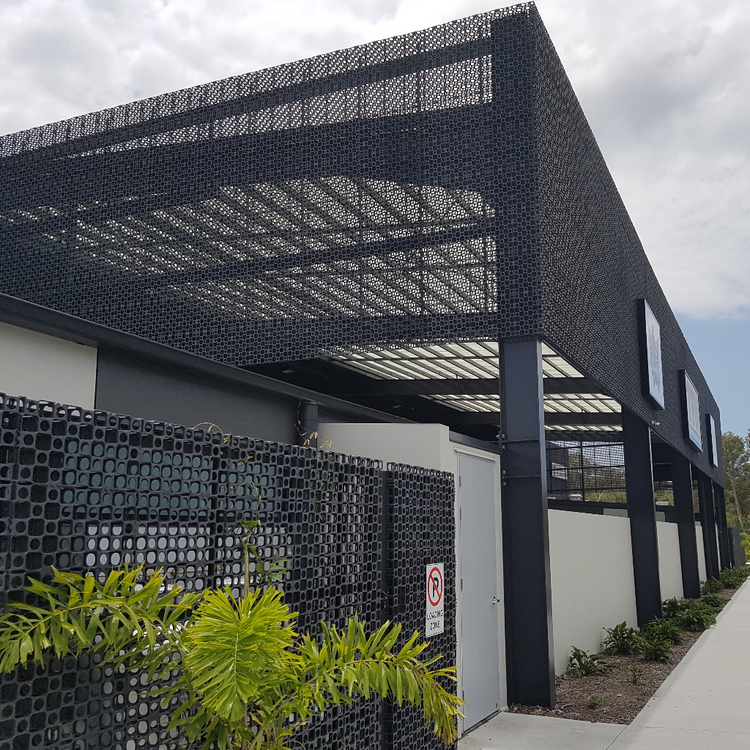
1. Galvanized Steele
For large projects, this is the most heavy duty installation and would require the posts, frames or brackets to be custom designs and installed by a skilled metal fabricator. If you are building a large free standing privacy wall or semi structural design, this is the best option for you.
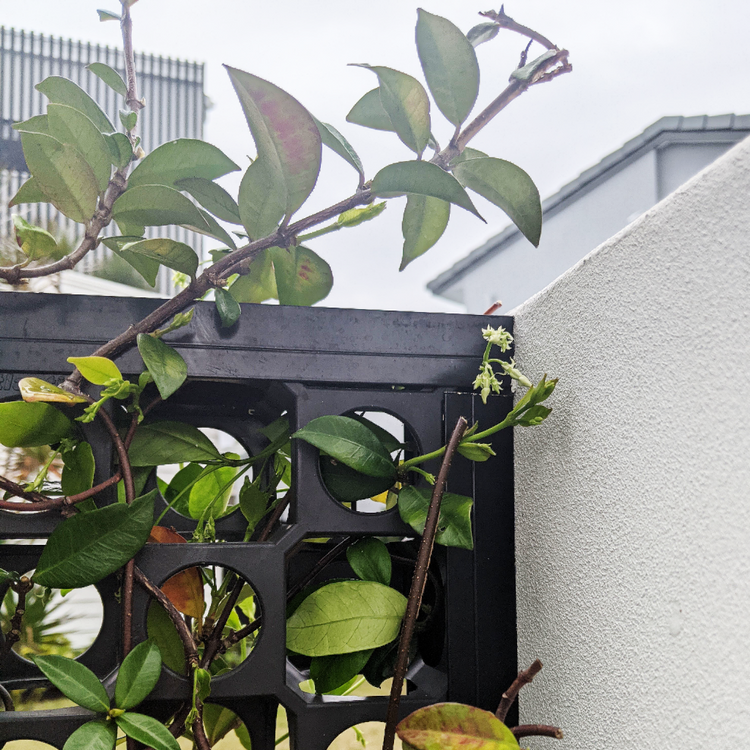
Aluminium
Most smaller projects make use of light and easily fabricated aluminium frames and brackets. The frames can be powder coated black or any other colour to add to the aesthetics of the design. The aluminium is also rust proof, so your façade and frame suit all coastal areas.
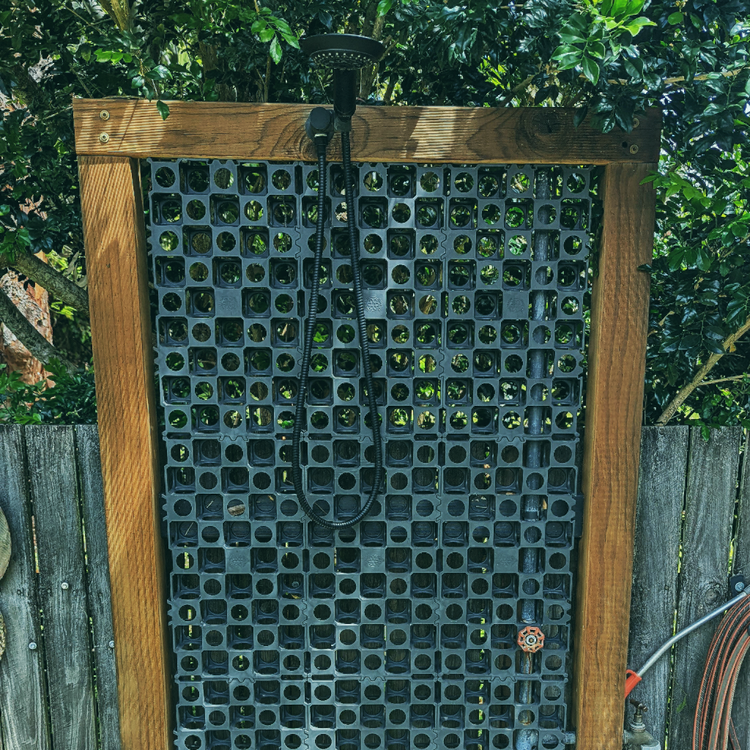
Timber
DIY Projects usually find simply screwing the product on to some form of timber works totally fine, the main thing to consider is how you would like the edge of the products to look. If you are cutting the product to length, you may want to hide the hand cut edges with a framing piece of timber.
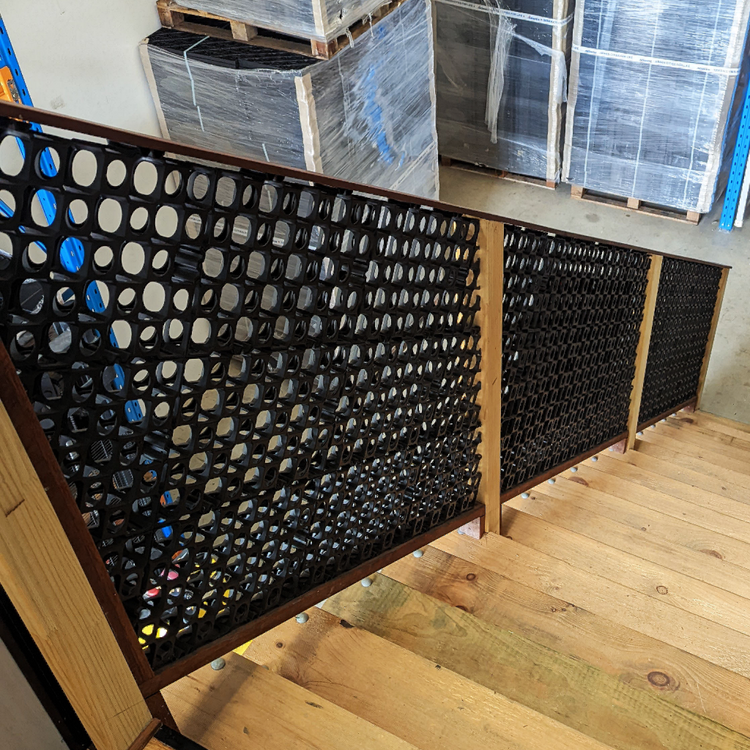
Cutting to Shape
The material is easy to cut to length or shape with a hand saw, reciprocating saw or Jigsaw with long blade. Safety googles must be worn and the products should be cut over hanging a solid surface like a table to avoid shattering plastic. As you can see below, we have cut the product on an angle to suit our staircase handrail.
Distance between mounting posts
Again, we can not give any clear instructions, but we have seen the 52mm product have an open, unsupported span of up to 2.2m X 2.5m that still feels pretty solid. The modular pieces connections are quite tight and we use a rubber mallet to break them apart.


